Learn How to setup wireless - Kindle Fire
Categories:
Type:
Free
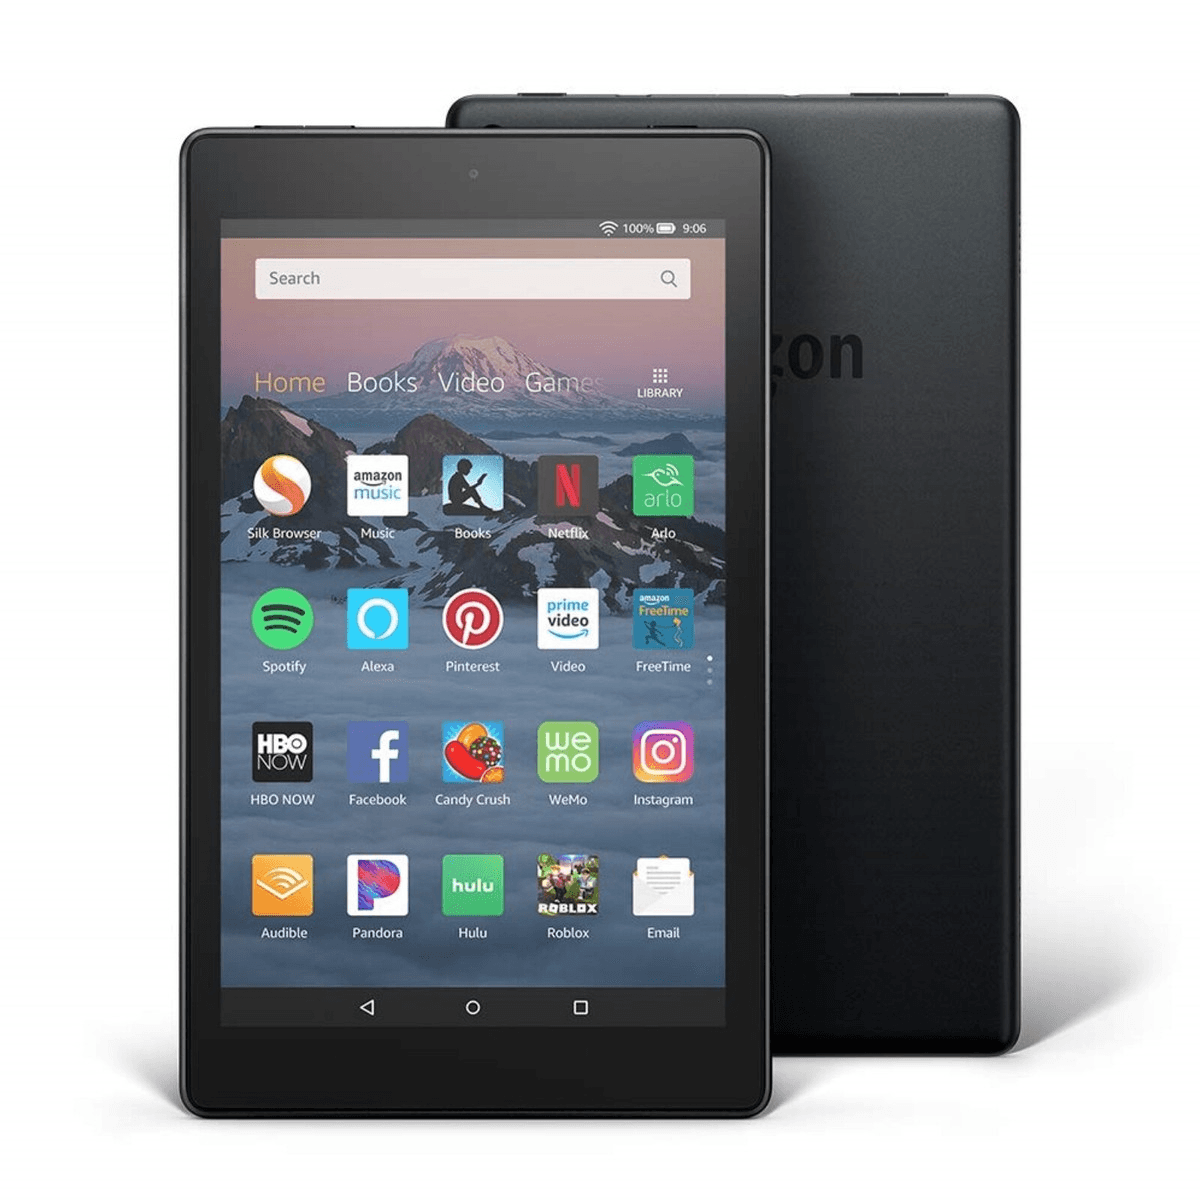
Kindle Fire: Connecting to Your Wireless Network
The Amazon Kindle Fire (now commonly known as the Fire Tablet) is built for streaming, browsing, and reading, making a stable Wi-Fi connection its most important feature. While the interface has evolved from the original Kindle Fire to the latest Fire OS 8 devices, the steps to get online remain straightforward.
Whether you're using a classic 1st-generation model or a brand-new Fire HD 10, here is how to set up your wireless connection:
Step-by-Step Wireless Setup (Fire OS 5 through Fire OS 8)
Open the Quick Settings: Swipe down from the very top of the screen to reveal the notification and settings shade.
Tap the Wi-Fi Icon: Tap the Wi-Fi symbol (or the word "Wi-Fi" below it) to open the network menu.
Enable Wireless: Ensure the Wi-Fi or Wireless Networking switch is toggled to On (it will usually turn orange).
Select Your Network: A list of available networks will appear. Tap the name of your home or office Wi-Fi.
Enter Your Password: Use the on-screen keyboard to type your network key.
Tip: Tap the "Show Password" box to make sure you aren't making any typos.
Connect: Tap Connect. Once the status below the network name changes to "Connected," you are ready to go.
Troubleshooting: Manually Adding a Hidden Network
If your network name (SSID) isn't appearing in the list:
Scroll to the bottom of the Wi-Fi list and select Add a Network.
Type in the exact Network SSID.
Select the Security type (most modern routers use WPA2 or WPA3).
Enter the password and tap Save.

More Tools:


Load More
